Although last weeks blog post mentioned that I intended to have rough 3D models of my characters, I have had issues with getting Blender to run correctly on my laptop in order to allow me to create any models as of yet. Therefore I decided to look into Adobe Character Animator and play around with that to get a rough idea of how to use the software. It seems very straight forward and should be easy enough to use to animate my models when they are completed. I used one of the default templates that Character Animator offers to beginner users. Once in the software, it opened up a scene window where I could see my face displayed and the model which followed the movement of my face in real time. 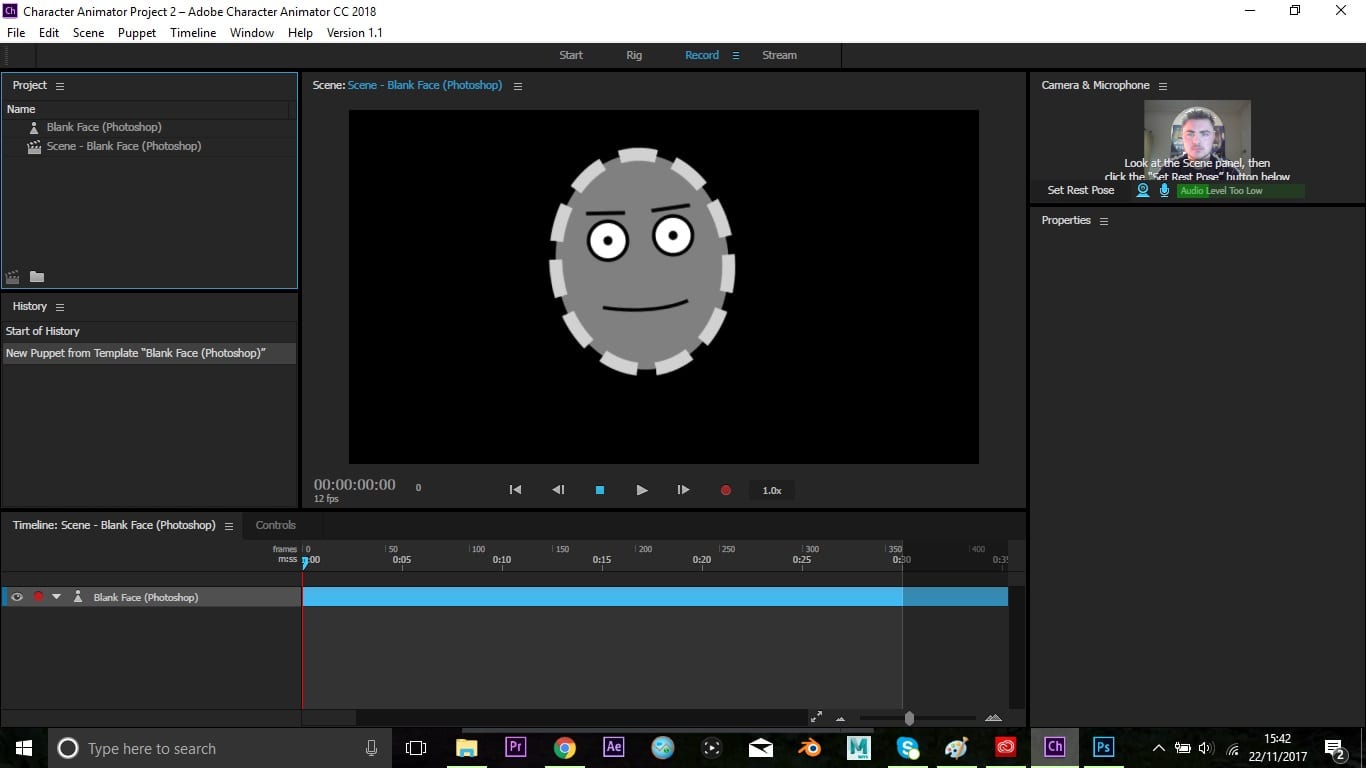
There is also a seperate window within Character Animator specifically for recording the full animation for your scene, which will make the workload for this piece massively easier to handle, compared to manually rigging a 3D character frame by frame for a full 5-10 minute film. Once the default character is opened up within Character Animator, it automatically opens up Photoshop with the file of the face within the software. This then allows you to manually adjust the look of the model you are using and update it by re-saving the file in Photoshop, which alters in real time also, so I had a little play around with altering the basic look of the default character.
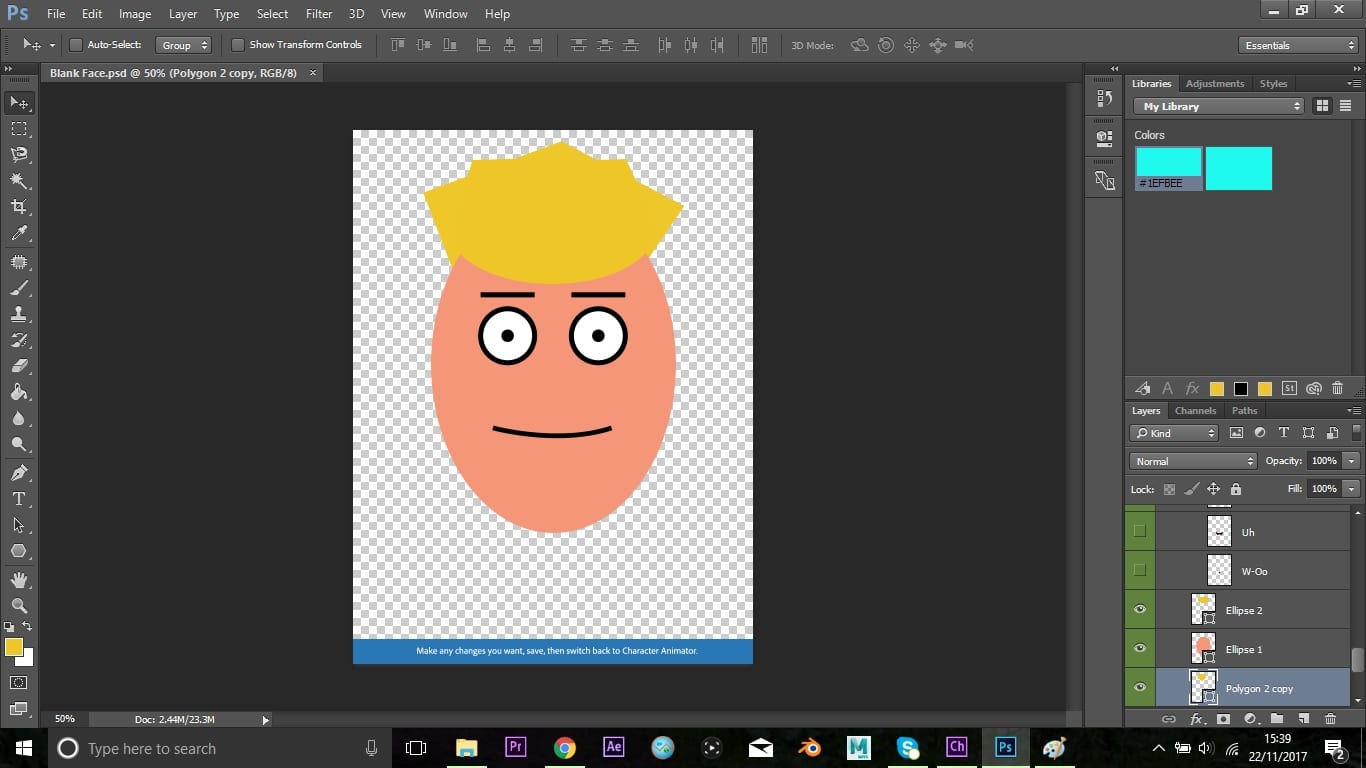
As shown above, the model was easily alterable and allowed me to use whatever design I desired. However it did seem a bit awkward to get the eyes focused correctly in the center of the image in relation to where mine were in real life, so this is something I will need to play around with in future, whether it’s just that my eyes are a bit small for the software to recognise or the camera was in an awkward position for the software to recognise me correctly.