Tutorials

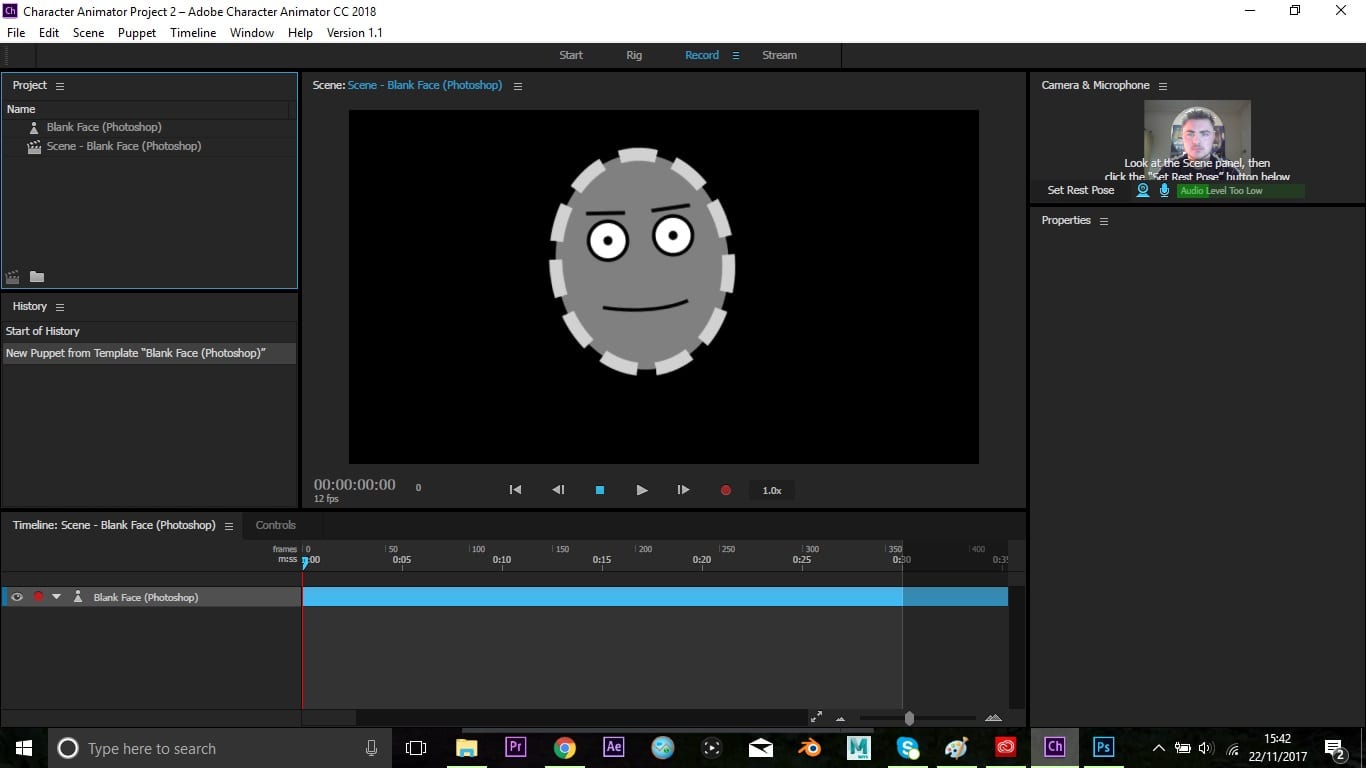
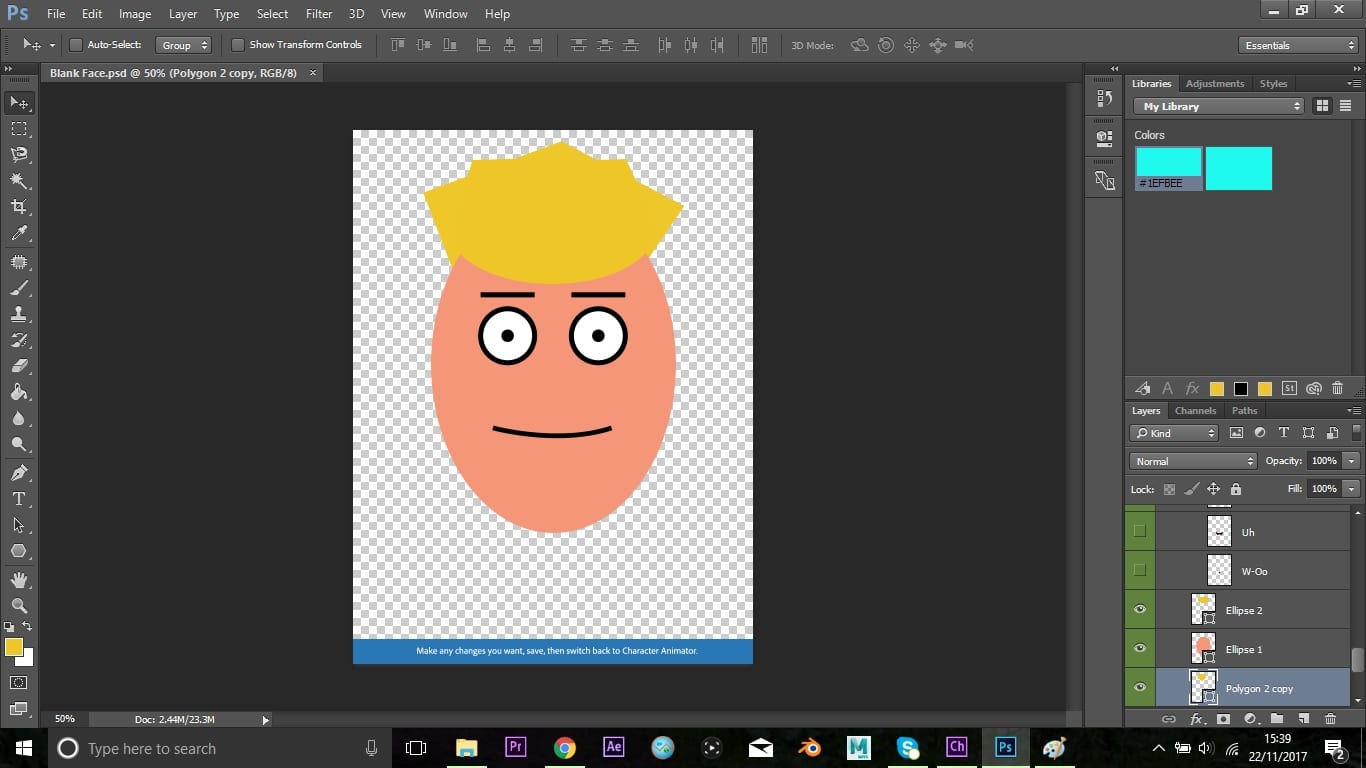
I have looked into a few different tutorials so far for my work. The first was posted in a previous post surrounding the 3D modelling of my characters for my short film. Another is one that is part of a four part series that goes through the basics of Adobe Character Animator that are published on the YouTube channel “Okay Samurai”, however the link to these tutorials are also in-built to the Character Animator software, therefore they are trustworthy examples.

I also had a brief look into scene creation on both Blender and Maya. However, the tutorials for Blender seemed to only be for very detailed scenes which isn’t the style I am really looking for, for my piece. Going on from this, I also originally chose to use Maya for my scene design because I wanted to have a wider knowledge of varying softwares to add to my portfolio. Also, from what I found, the tutorials for Maya seem to be a lot more recent and updated versions to the tutorials on Blender, and seem to be of a similar style to what I am trying to create.

Although, this first tutorial I looked at is slightly outdated,being on the 2014 version of Maya and not 2017. I believe it will still have similar tools that are still in the more recent versions of Maya. I also looked into a 2017 tutorial of Maya which shows a street creation and shows the basics of creating housing and the interior of a house. However, this tutorial doesn’t have any voice over, just background music, so it is a lot more difficult to follow, but is still helpful for my work. In addition, it is in a series, rather than just one video, hence I will be able to watch other tutorials from the YouTube channel “Sammie Good” that will help me towards creating my concept.

Tutorials

Character Animator

Although last weeks blog post mentioned that I intended to have rough 3D models of my characters, I have had issues with getting Blender to run correctly on my laptop in order to allow me to create any models as of yet. Therefore I decided to look into Adobe Character Animator and play around with that to get a rough idea of how to use the software. It seems very straight forward and should be easy enough to use to animate my models when they are completed. I used one of the default templates that Character Animator offers to beginner users. Once in the software, it opened up a scene window where I could see my face displayed and the model which followed the movement of my face in real time. default face aca


There is also a seperate window within Character Animator specifically for recording the full animation for your scene, which will make the workload for this piece massively easier to handle, compared to manually rigging a 3D character frame by frame for a full 5-10 minute film. Once the default character is opened up within Character Animator, it automatically opens up Photoshop with the file of the face within the software. This then allows you to manually adjust the look of the model you are using and update it by re-saving the file in Photoshop, which alters in real time also, so I had a little play around with altering the basic look of the default character.

face  editedaca face


As shown above, the model was easily alterable and allowed me to use whatever design I desired. However it did seem a bit awkward to get the eyes focused correctly in the center of the image in relation to where mine were in real life, so this is something I will need to play around with in future, whether it’s just that my eyes are a bit small for the software to recognise or the camera was in an awkward position for the software to recognise me correctly.

Character Animator

Development

I have started looking into the basics of modelling my characters using Blender, due to Maya being only available on trial for 30 days. I have watched various tutorials, however many seem to be in previous of software so there are very limited amounts I can actually follow to help develop my knowledge in the newer versions of Blender. There is one in particular short series of videos on YouTube from a channel “Sebastian Lague” who goes over the basics of Character creation, texturing and animating in a similar style to what I envision my character to look like.

Following this tutorial, it discusses the use of drawing out your characters to use as a guide within the software to help ensure that your model stays in proportion with your original inspiration. Therefore I have drawn two rough designs for both of my characters with annotations on each so that I can remember exactly what colour each piece of the model will need to be. Although my drawing skills are nothing to be desired, they will still allow me to follow them as a guide when designing in terms of size and stature in comparison to one another. Additionally, I can give the characters much higher detailed faces within Blender later on after I have designed their basic body shapes. I aim to have a play around with the software and see if I can make something similar to the final designs that Sebastian Lague creates in the 4-part series on YouTube.

Rough Design - Boy Rough Design - Girl


Development

Research and Development

For my concept, I have decided to create a 5-10 minute 3D animated short. With the style similar to that of Nickelodeon’s “Jimmy Neutron” and my main inspiration from a viral video called “The Present”.

jimmyneutron

It will tell the story of a stereotypical male teenage who tries to act cool. When his younger sister wants to play, he keeps up this facade until a point where he loses his cool and is mean to her. At this point the younger sister runs away upset, followed by the older brother following her shortly after. They eventually meet in an area of natural beauty which reunites them as friends and they have fun together. At the end of the short, both siblings arrive back home and continue as they were before, with the older brother giving his sister a little wink to reassure her that he is just acting cool. I intend to not have any character voice within the piece, but instead just background music that I will create myself that follows the flow of the short to add to the actions of the characters.

To start my research and development, I began looking at the best softwares to use to develop my concept. I will need software that will allow me to make 3D models of characters and the environment, and if this can’t be done easily on one software, then I need to find seperate softwares that integrate. I originally looked into Cinema 4D, however a lot of reviews have said that, although it is brilliant for creating still images, Maya would be a lot better for a full scene. Therefore I have chosen Maya for parts of/if not all of my piece. However Blender is also a very interesting competitor that I still need to look into properly. For the next week I have set myself the task of looking into tutorials for both pieces of software and comparing which would be better overall,and if some aspects are better than others within both separate softwares, then can they both integrate together. I have found a multitude of tutorials for Maya and Blender that both teach the basics of the software and the basics of the sort of things I will need to know (such as 3D modelling, texturing 3D models, animating 3D models and the same for environments).

Additionally, I have looked into various music softwares (such as Reaper and Tracktion 4) so that I may design the background music for the piece. However I recently discovered that a family friend is doing fairly well for himself as a musician by creating his music on his PC using a piece of software called Reason. Online he is known as “Etherwood” and has a few million views on YouTube on a few of his songs, hence I have reached out to him, and he has agreed to come and show me what he knows on the software so I can begin to teach myself.

Research and Development